Microsoft .NET Framework
-
If it has not been installed previously, you will need to manually install the Microsoft .NET Framework 4 Runtime and its corresponding Language Pack.
To do so, navigate to the ClientInstaller directory on the CROSSCAP Enterprise DVD. Identify the two executables dotNetFx40_Full_x86_x64.exe and dotNetFx40LP_Full_x86_x64de.exe and launch them, one after another. Installation will happen automatically and requires no user intervention.
Internet Information Services (IIS)
-
If the CROSSCAP Enterprise server is to be installed on a client machine (i.e. a PC running a Windows client operating system, rather than a Windows server operating system), then the Windows IIS (Internet Information Services) will invariably need to be added, manually. Though IIS installation resources are included with all Windows client operating systems, these are usually not installed by default.
To correct this, please launch the Windows Control Panel and open the section for Programs and Features. Navigate to the Turn Windows features on or off section and identify the option for Internet Information Services. Placing a checkmark will automatically select all required default IIS settings. -
For CROSSCAP Enterprise to be successfully installed, additional ASP.NET development features are required. Checkmarking ASP.NET 4.X will automatically select all other settings required.
-
Clicking OK will install all required modules.
-
If CROSSCAP Enterprise is to be installed on a server machine (i.e. a PC or VM running a Windows server operating system), then this needs to have the role web-server installed. If not, you will need to add this role and the ASP.NET development features mentioned above, using Server manager.
Installing the PostgreSQL DBMS
-
Download the PostgreSQL installer from the internet.
-
Launch the installation file. A wizard will guide you through the installation.
-
Select a suitable installation directory (accept the default suggested by the wizard).
-
Select a suitable data directory (accept the default suggested by the wizard).
-
Assign and memorize a secure password for the database superuser (required later on).
-
Select a suitable port number for database access (accept the default value, 5432).
-
Select the language to be used for database management (accept the default locale).
-
Installation will proceed automatically, from here onwards.
-
On completion, the installation wizard will suggest to also download and install Stack builder. Since Stack builder is not required for CROSSCAP Enterprise, you may uncheck this option.
CROSSCAP Enterprise core system (process management)
The installation program for the CROSSCAP Enterprise core system may be found in the top/root directory, on the CROSSCAP Enterprise DVD.
Please locate and launch the executable labelled
CrosscapEnterpriseV3.x.y.zzzzz.exe
(x.y.zzzzz indicates the current program version and will vary).
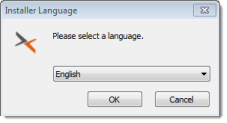 |
Begin by choosing your setup language. Confirm with OK. |
A setup wizard will guide you through the entire installation.
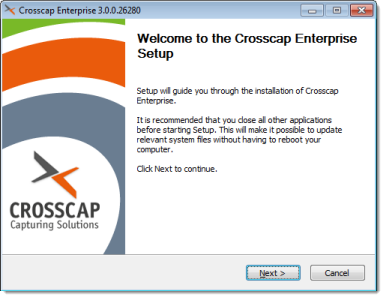 |
Click Next to begin the installation. |
Licensing agreement:
 |
The installation wizard will ask you to accept SRZ Berlin's general terms of license. Confirm by ticking "I accept ..." and then clicking Next. |
Target directory for program files:
 |
Choose a target directory (the location on your hard drive where CROSSCAP Enterprise program files will be placed). It is usually ok to simply accept the folder suggested by the wizard. Click Next to continue. |
Start menu folder:
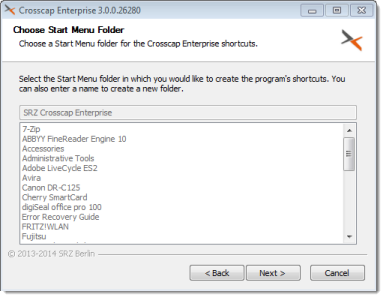 |
The CROSSCAP Enterprise core system will be automatically (and silently) launched as a background service, whenever this PC is (re-) started. Therefore, there is no need for a "Start menu folder" entry, simply skip this step and continue by clicking Next. |
Database settings:
|
|
|

Licensing server:
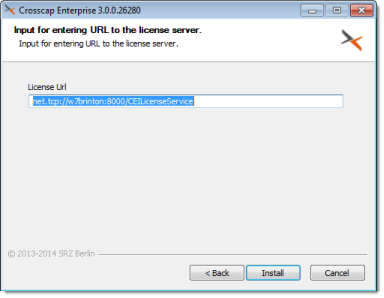 |
When done, proceed with the installation by clicking Install. |
 |
Installation will take a while, please be patient. Eventually, the Next button will become active, indicating that the installation has completed. If all looks well, press Next to conclude the setup procedure. |
Closing the installation wizard:
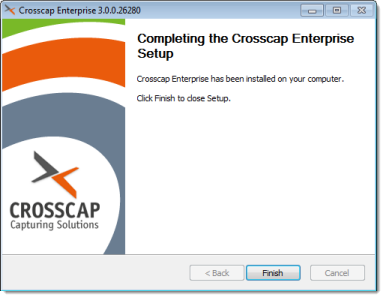 |
Click Finish to terminate the installation wizard and return to the operating system. |
You may now verify correct operation of the CROSSCAP Enterprise core system by opening a browser on the server machine and entering http://localhost/cei/enterprise.asmx, on the address line. The CROSSCAP Enterprises batch services list should appear.
CROSSCAP Enterprise services (image processing and export)
The installation program for the CROSSCAP Enterprise services may be found in the ClientInstaller directory, on the CROSSCAP Enterprise DVD.
Please locate and launch the executable labelled
CrosscapEnterpriseServicesV3.x.y.zzzzz.exe
(x.y.zzzzz indicates the current program version and will vary).
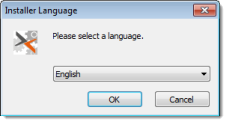 |
Begin by choosing your setup language. Confirm with OK. |
A setup wizard will guide you through the entire installation.
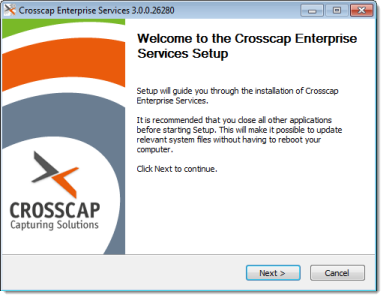 |
Click Next to begin the installation. |
Licensing agreement:
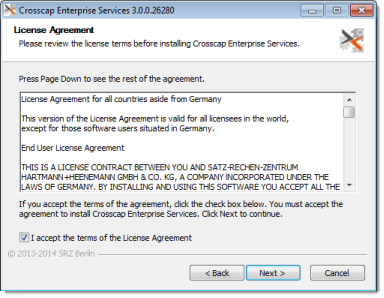 |
The installation wizard will ask you to accept SRZ Berlin's general terms of license. Confirm by ticking "I accept ..." and then clicking Next. |
Target directory for program files:
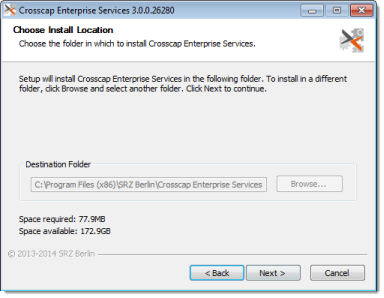 |
Choose a target directory (the location on your hard drive where CROSSCAP Enterprise program files will be placed). It is usually ok to simply accept the folder suggested by the wizard. Click Next to continue. |
Start menu folder:
 |
The CROSSCAP Enterprise services will be automatically (and silently) launched as background services, whenever this PC is (re-)started. Therefore, there is no need for a "Start menu folder" entry, simply skip this step and continue by clicking Next. |
CROSSCAP Enterprise Server URL:
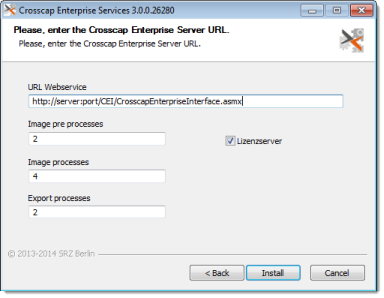 |
|
Settings for Number of processes and Licensing server:
-
Number of processes (Image preprocessing, Image processing, Export processing):
Up to 64 parallel background processes may be specified for each processing type, which will theoretically speed up processing accordingly. However, each additional process will also consume system resources for itself, therefore the gain in performance will not be linear. Also, please note that an appropriate number of services needs to be licensed - the system will only allow the maximum number of licensed services to fire up. You may install more services of each type, using this installer, but the licensing server will limit the system to the amount of services licensed, after startup. -
Licensing server:
Within any CROSSCAP Enterprise system, the licensing server should only be installed once. If all CROSSCAP Enterprise components are installed on the same machine, then the licensing server should also be installed here: leave the checkmark ticked. However, if the licensing server needs to be installed on a different machine, please remove the checkmark during installation on this and other machines not intended to host the licensing server. -
When done, proceed with the installation by clicking Install.
Installation in progress:
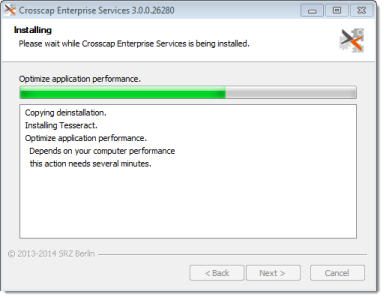 |
Installation will take a while, please be patient. |
Installation completed:
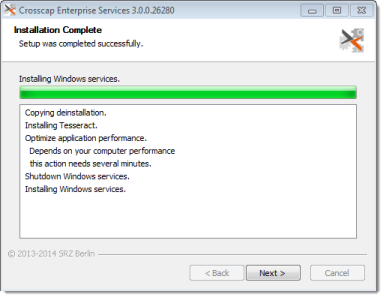 |
If all looks well, press Next to conclude this setup wizard. |
Closing the installation wizard:
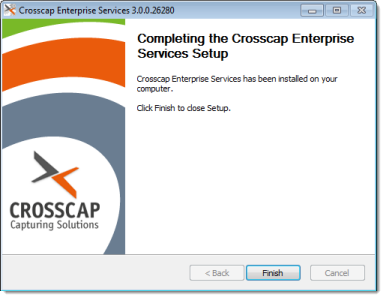 |
Click Finish to terminate the installation wizard and return to the operating system. |
You may now launch the web-administration interface by opening a browser and entering http://localhost/cewi, on the address line.
You will be required to log on to the system, the default administration credentials are as follows: user: admin, password: admin.
You may verify correct installation of the CROSSCAP Enterprise services by viewing the license information screen, which may be accessed through the Extras tab.. If all is well, you should be able to identify the correct number of image preprocessing, image processing and export processing services.