On the CROSSCAP Enterprise DVD, locate the direcory named ClientInstaller. Within that directory, identify and launch the file named:
CrosscapEnterpriseIndexV3.x.y.zzzzz.exe
(x.y.zzzz refers to the current software version and may vary, fom DVD to DVD).
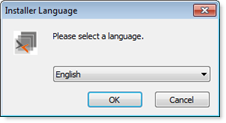
Begin by choosing your setup language. Confirm with OK.
A setup wizard will guide you through the entire installation.
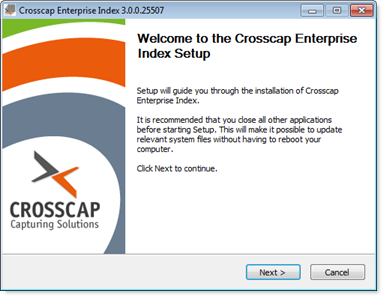 |
Click Next to begin the installation. |
License agreement:
 |
The wizard will ask you to accept SRZ Berlin's general terms of license. Confirm by ticking "I accept ..." and then clicking Next. |
Target directory for program files:
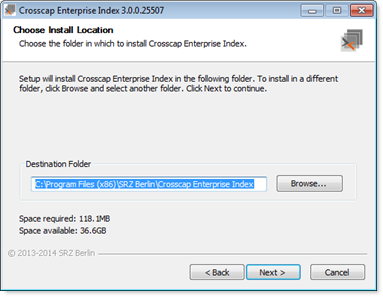 |
Choose a target directory (the location on your hard drive where the CROSSCAP Multi-Client program files will be installed). It will usually be ok to accept the folder suggested by the wizard. Click Next to continue. |
Start menu folder:
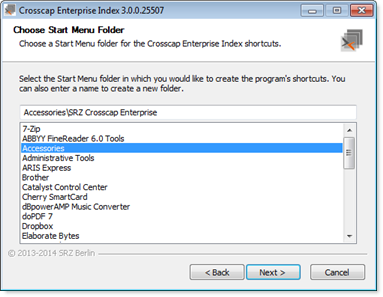 |
Select a suitable start menu folder. By default, CROSSCAP Multi-Client program shortcuts will be placed at the top level of the start menu. In this example, however, we have selected the Accessories subfolder. Click Next to continue. |
CROSSCAP Enterprise server:
 |
Enter the Server-URL (network address) of the machine running the core system (process server).
The address needs to be formatted as follows: http://hostname:80/CEI/CrosscapEnterpriseInterface.asmx Please replace hostname with the network name of your CROSSCAP Enterprise server. When done, continue by clicking Install. |
CROSSCAP Multi-Client will now check if all required system libraries are present:
-
If they are, installation will continue with step CROSSCAP Multi-Client installation continues, far below:
-
If not, the installation script will branch out and launch the installation of Windows C++ runtime components.
Windows C++ runtime:
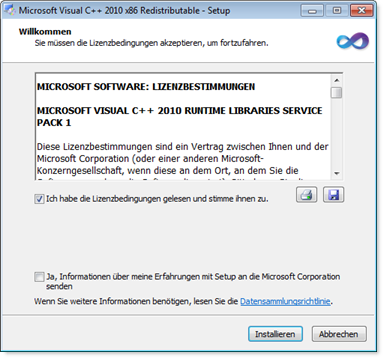 |
You will need to accept a (separate) licensing agreement with Microsoft. |
Windows C++ runtime installation complete:
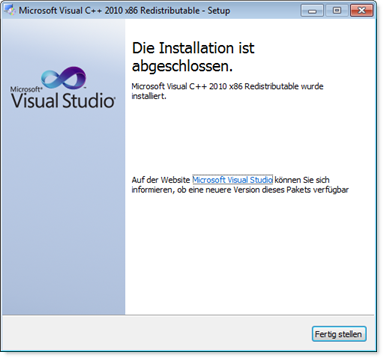 |
Click Finish to close. |
CROSSCAP Multi-Client installation continues:
The CROSSCAP Multi-Client setup wizard will wait until the Microsoft Windows C++ installation has completed ...
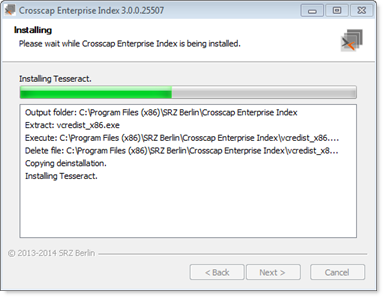 |
... and will then proceed, automatically. |
CROSSCAP Multi-Client installation complete:
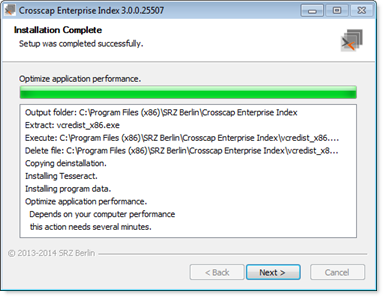 |
Program installation may take a while, the CROSSCAP Multi-Client installation wizard will eventually confirm that it has finished. If all looks well, press Next to conclude the setup wizard. |
Please make sure to also check all other system settings described in section Initial system configuration, elsewhere in this chapter.
Further background information on the CROSSCAP Multi-Client (client update functionality) may be found in a separate chapter, CROSSCAP Multi-Client.